Implementing Azure AD Connect cloud sync
Microsoft roadmap is to replace Azure AD Connect sync with Azure AD Connect cloud sync. The Azure AD Connect cloud sync is developed with a multiple domain focus. Many companies and organizations go through mergers and acquisitions and end up doing AD migrations and Tenant to Tenant migrations. Azure AD Connect cloud sync can help in these situations by syncing identities from multiple AD domains to the same AAD Tenant. Azure AD Connect cloud sync can provision all accounts from all AD domains to a single tenant.
Another thing that differs the Ad Connect Cloud Sync Agent from Azure AD Connect is where the configuration is made. Azure AD Connect is a local service that is configured locally on the Azure AD Connect server. While the Azure AD Connect Cloud Sync is an Agent that is managed and configured from cloud in Azure portal.
There are some features still missing on Azure AD Connect Cloud Sync. So not all companies can implement this yet.
| Feature | Azure Active Directory Connect sync | Azure Active Directory Connect cloud sync |
|---|---|---|
| Connect to single on-premises AD forest | ● | ● |
| Connect to multiple on-premises AD forests | ● | ● |
| Connect to multiple disconnected on-premises AD forests | ● | |
| Lightweight agent installation model | ● | |
| Multiple active agents for high availability | ● | |
| Connect to LDAP directories | ● | |
| Support for user objects | ● | ● |
| Support for group objects | ● | ● |
| Support for contact objects | ● | ● |
| Support for device objects | ● | |
| Allow basic customization for attribute flows | ● | ● |
| Synchronize Exchange online attributes | ● | ● |
| Synchronize extension attributes 1-15 | ● | ● |
| Synchronize customer defined AD attributes (directory extensions) | ● | |
| Support for Password Hash Sync | ● | ● |
| Support for Pass-Through Authentication | ● | |
| Support for federation | ● | ● |
| Seamless Single Sign-on | ● | ● |
| Supports installation on a Domain Controller | ● | ● |
| Support for Windows Server 2016 | ● | ● |
| Filter on Domains/OUs/groups | ● | ● |
| Filter on objects’ attribute values | ● | |
| Allow minimal set of attributes to be synchronized (MinSync) | ● | ● |
| Allow removing attributes from flowing from AD to Azure AD | ● | ● |
| Allow advanced customization for attribute flows | ● | |
| Support for password writeback | ● | ● |
| Support for device writeback | ● | |
| Support for group writeback | ● | |
| Support for merging user attributes from multiple domains | ● | |
| Azure AD Domain Services support | ● | |
| Exchange hybrid writeback | ● | |
| Unlimited number of objects per AD domain | ● | |
| Support for up to 150,000 objects per AD domain | ● | ● |
| Groups with up to 50,000 members | ● | ● |
| Large groups with up to 250,000 members | ● | |
| Cross domain references | ● | ● |
| On-demand provisioning | ● | ● |
| Support for US Government | ● | ● |
Deploy Azure Ad Connect Cloud Sync Agent
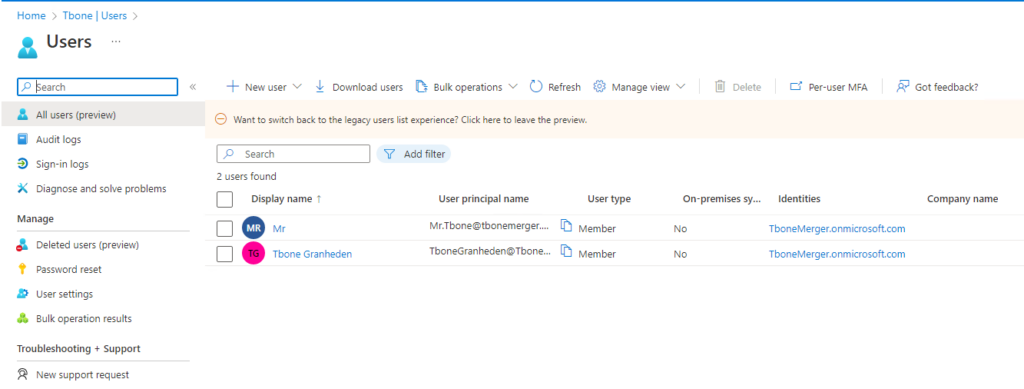
In my tenant I have 2 accounts. One admin account and one user account. No AD Connect Sync is enabled.
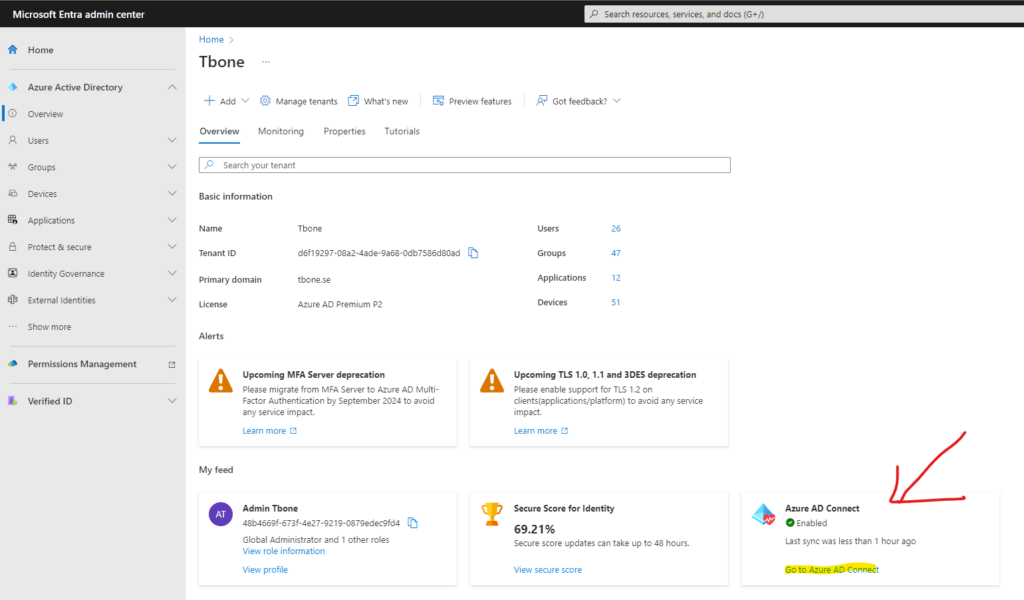
- Open azure active directory portal https://entra.microsoft.com/
- On the dashboard, click the link Go to Azure Active Directory
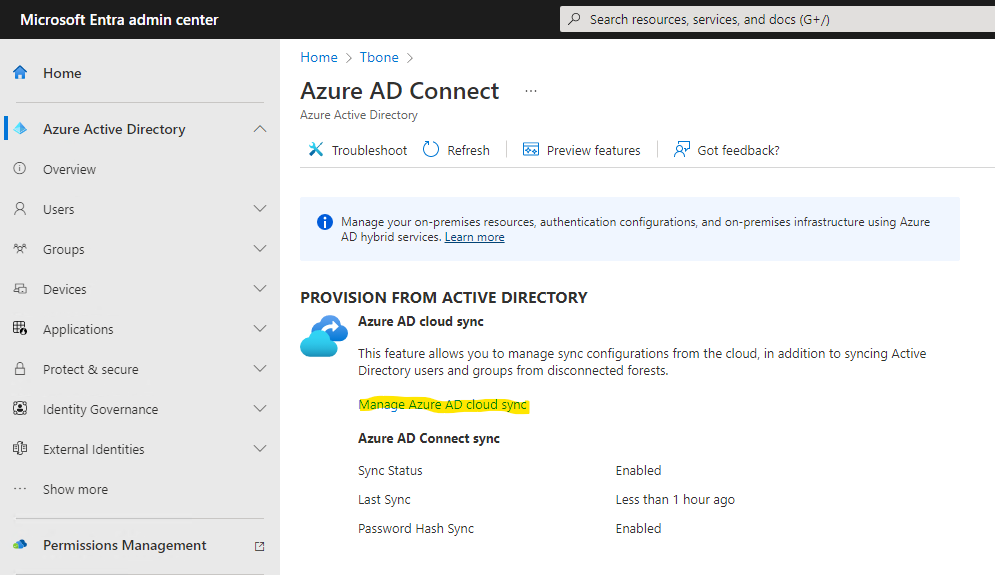
- On the dashboard, click the link Go to Azure AD Connect
- Select the link Manage Azure AD Cloud Sync
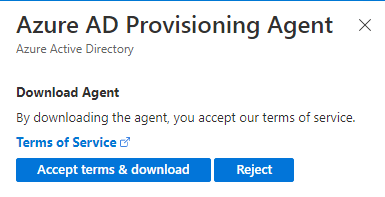
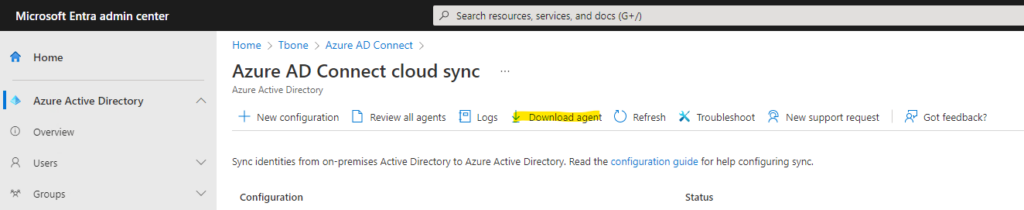
- Select Download Agent.
- Accept the Terms & download the installer.
- Install the downloaded agent on a server dedicated to being an Azure AD Connect cloud sync server

After installation the configuration wizard automatically starts.
- Authenticate against your Azure Active Directory and Local Active Directory.
- Let the wizard create a grouped managed service account (gMSA)

- Verify that the domain is added and add additional domains in your forest if needed.

- Start configure the Azure AD Connect Cloud Sync Agent

- When the sync agent is configured and ready, it can be verified in Azure portal by selecting Review all agents
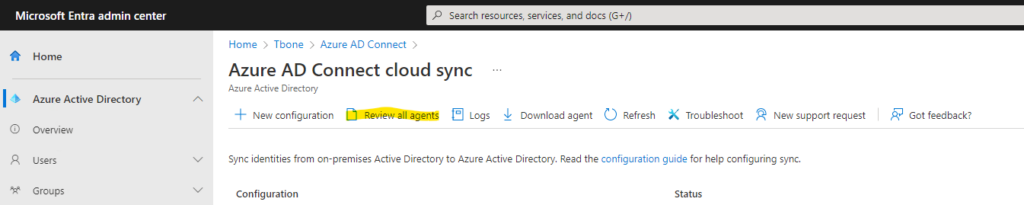
- Verify a healthy agent status. of your newly deployed agent.

Configure Azure AD Connect Cloud Sync Agent
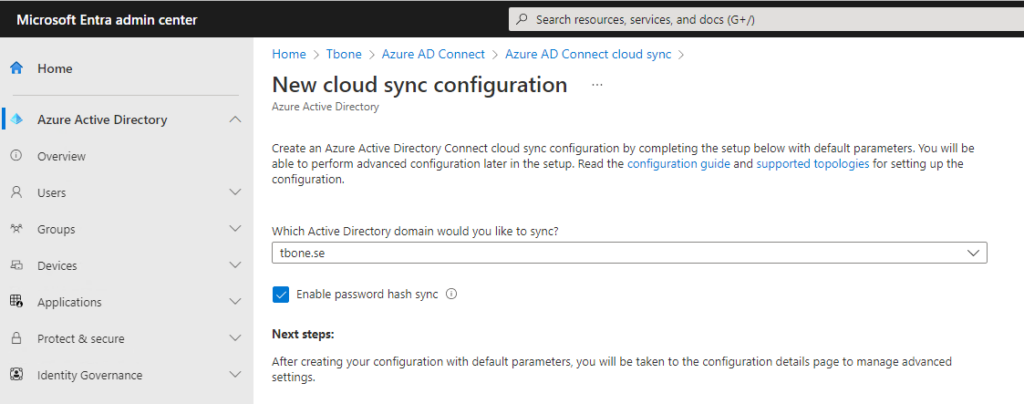
- Select New Configuration

- Choose domain and if Password hash sync should be enabled and click Create button
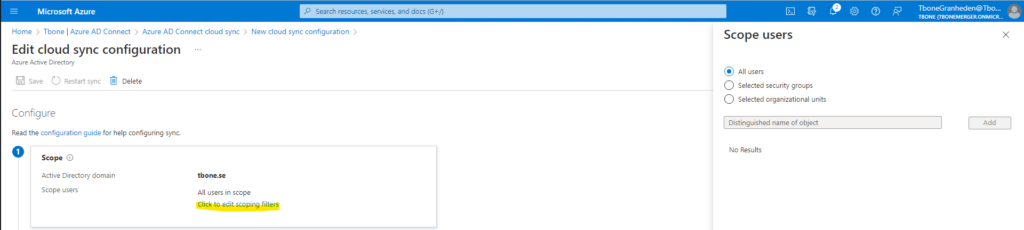
- Now you are presented with five steps to configure your agent sync.
- First step is to scope your sync. You can easy scope by using OU or group.
- Second step is to once again determine password hash sync and also to edit attribute mappings

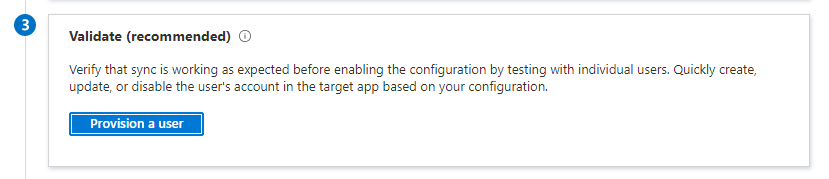
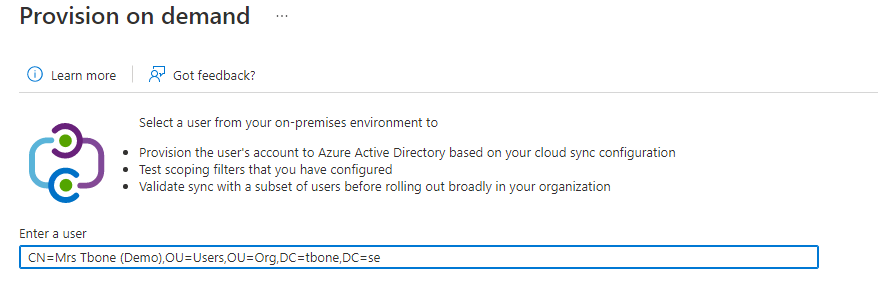
- Third step is to validate your config by provision one test user
Note that the user needs to be entered with distinguished name when testing the provisioning.
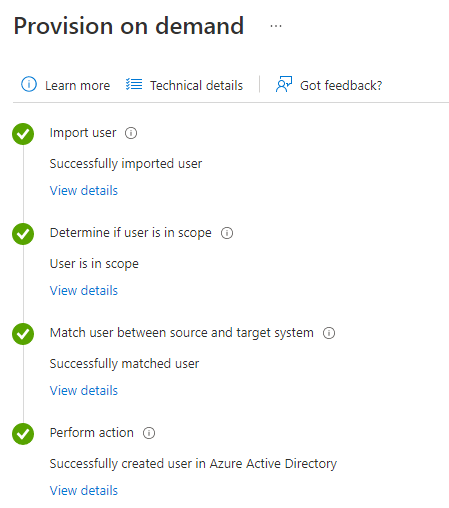
If all goes well, you should see parts marked with green
- Fourth step is to enter an email where notifications should be sent, and the limit for accidental deletions.
- In Step five it´s time to enable and then click the save button to your configuration

After saving you can verify status and statistics of the sync
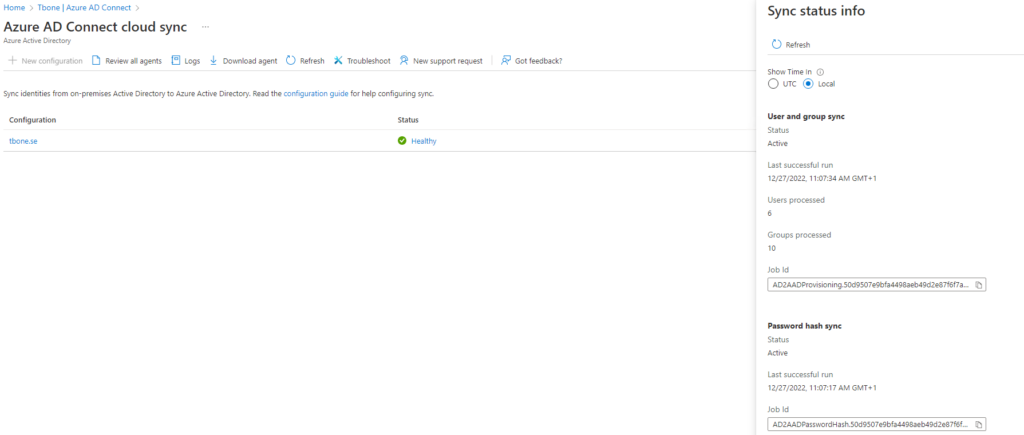
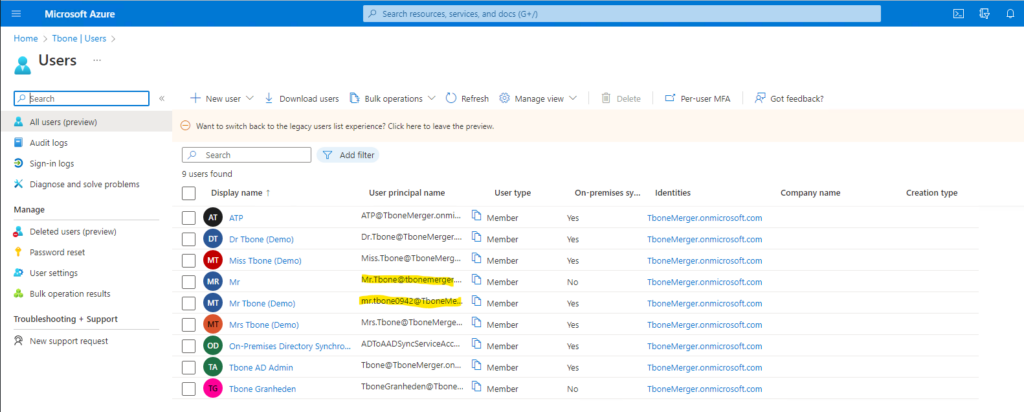
In my Tenant, I now have all users and groups from my local AD provisioned.
Note that I had one conflict that resulted in a modified username. To prevent this, you need to be sure to use the same UPN, Alias and if possible msdsConsistencyGuid.
To read more on different scenarios for implementing Azure Ad Connect Cloud Sync, read more here