Windows Virtual Desktop Part 2 – Requirements and Infrastructure Setup
This is Part 2 in a series of upcoming blogs on my experience from setting up Windows Virtual Desktop at in lab but also in production on some customers of Coligo. Part 2 will focus on the requirements and the infrastructure setup. What do you need before starting and how do I setup the required infrastructure?
One of the benefits of WVD is the simplicity of the infrastructure. Microsoft manage most of the infrastructure and you can focus on the Windows Virtual Desktop Hosts.
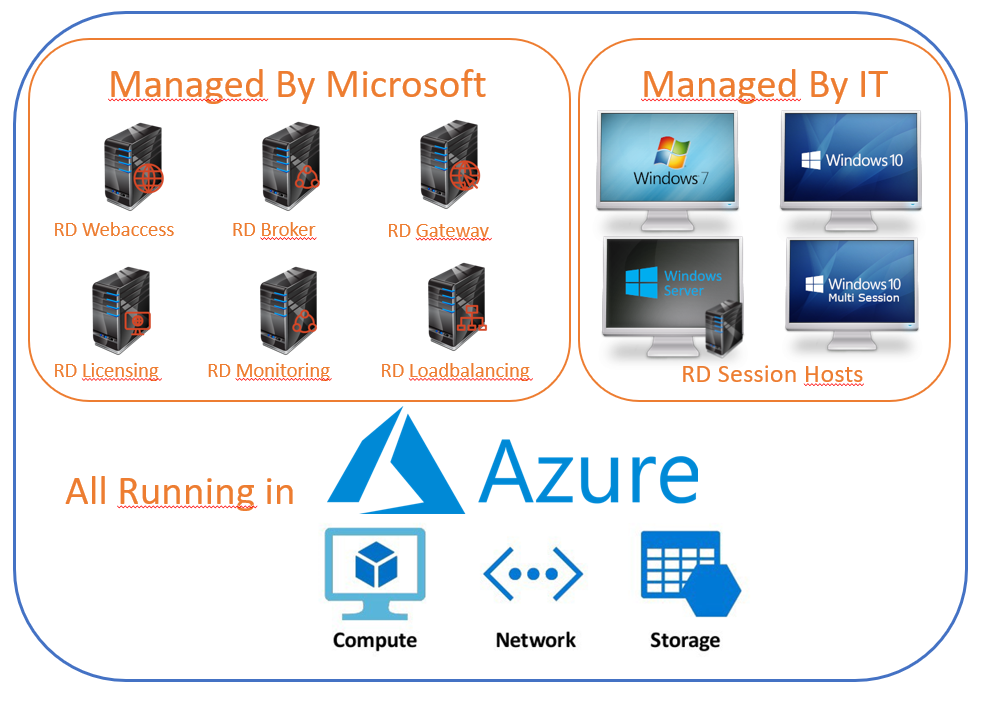
You don´t need to setup RDS brokers, license servers, web access, gateways etc. It´s all managed by Microsoft and the setup is quick and simple. But at the time of writing there are no GUI portal to view or edit the infrastructure settings for the WVD. This makes it a bit confusing, jumping between different windows to make the initial settings.
What do you need to setup Windows Virtual Desktop?
- Global Admin (preferred but most can be done by delegate admin)
- Licenses
- Azure Subscription
- Local Active Directory or Azure Domain Services
(currently not working with only Azure Active Directory) - Azure VPN to LAN (optional use If LAN access is needed)
- Service Principal (optional, you can also use your global admin account)
- RDS Tenant
How do I setup the required infrastructure?
Global Admin
For a smooth setup of WVD, a Global Admin is your best choice. Most can be delegated and setup using a delegated admin. But I will assume that you are a Global Admin when setting up the WVD requirements.
Licenses
You need to purchase the correct licenses to be allowed to use WVD. Most of you already possess these licenses for the Microsoft 365 platform.
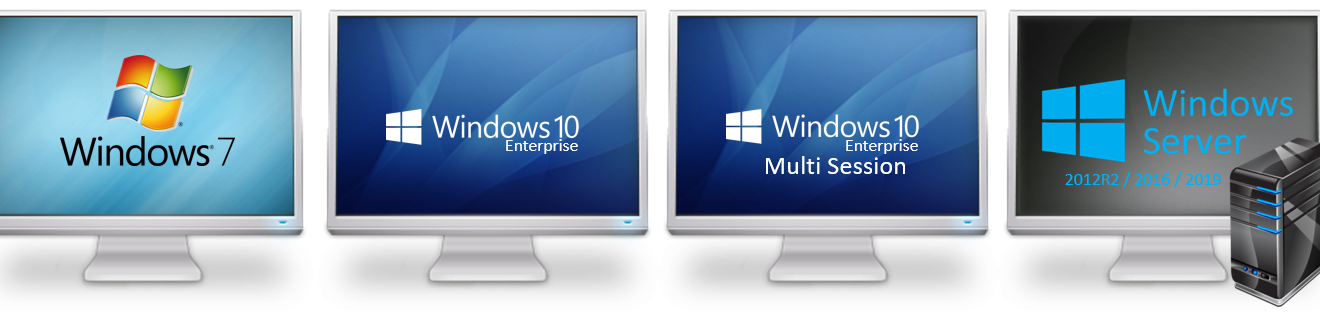
- To run WVD with Windows 7, Windows 10 or Windows
10 multi-session:
- Microsoft 365 F1, E3, E5, A3, A5, Business
- Windows 10 Enterprise E3, E5
- Windows 10 Education A3, A5
- Windows 10 VDA per user
- To run WVD with Windows Server 2012 R2, 2016,
2019
- RDS Client Access License (CAL) with an active Software Assurance (SA)
Purchase licenses:
- Open the Microsoft 365 Admin Center https://admin.microsoft.com, login using your Global Admin account.
- Go to the Billing and select Purchase Services
- Select the license you want to purchase
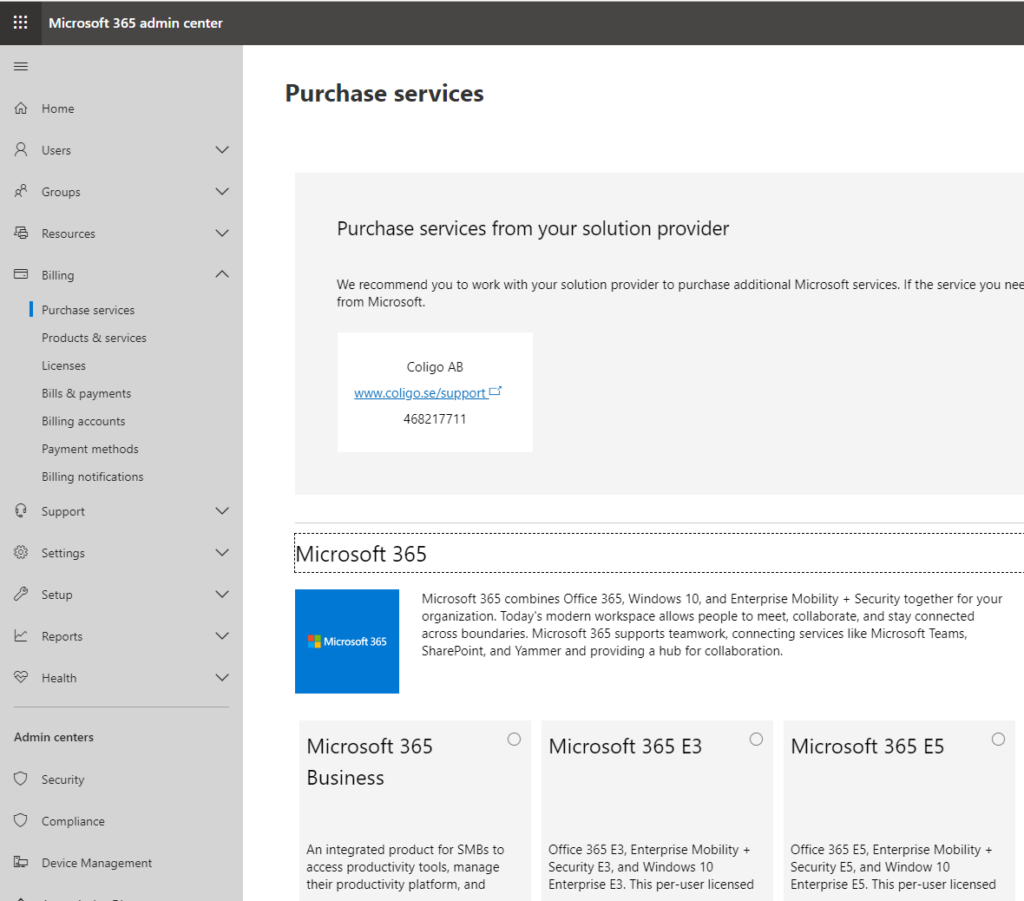
- Continue the purchase services wizard to complete the purchas.
Note that these licenses give you the right to use WVD for free, but you will have to pay for Azure storage, compute and network usage.
More information on how to add license
Azure Subscription
If you don´t already have an Azure Subscription you will need to sign up for one. Microsoft will charge you for compute, storage and network used by your Windows Virtual Desktops.
Add Subscriptions:
- Open the Azure Admin Portal https://portal.azure.com, login using your Global Admin account.
- Go to Subscriptions and select +Add
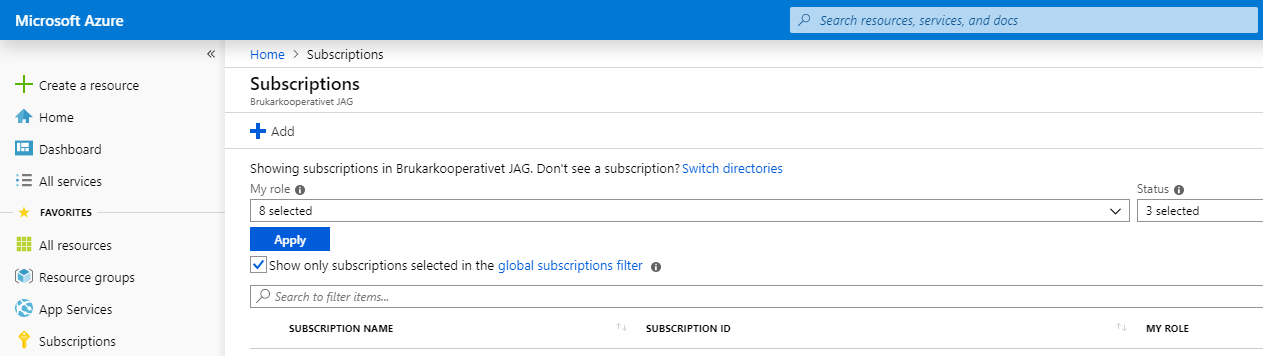
- Select the subscription want to add.

- Continue the add subscription wizard to complete the subscription addition.
More Information on creating subscriptions
Local Active Directory or Azure Domain Services
Windows Virtual desktop is at time of writing not compatible to run in a cloud only environment with Azure Active Directory only. There are two options supported.
- Local AD synced with AAD connect to Azure AD
If you already are using a local active directory synced with Azure Ad Connect to Azure AD. This is probably your first choice of setup. You will need to add an Azure VPN to connect your LAN to an Azure Network. The WVD hosts need access to a Domain controller. For the best performance and functions, I also recommend setup of a Virtual domain controller in Azure.
- Azure Domain Services
If you have gone cloud only and deprecated your local AD, Azure offer Azure Domain Services. This is an Azure managed domain that is synced from Azure AD to Azure DS. This service adds a cost to your Azure subscription. I will not get into details on how to set this up in this blog series.
More info on Azure Domain Services
Azure VPN to LAN (If LAN access is needed)
If you have chosen to use the Local AD or you want your WVD to be able to connect to on premise resources like databases or webservices. You will need to setup an Azure VPN to connect your local network to Azure network. This service adds a cost to your Azure subscription. I will not get into details on how to set this up in this blog series.
Service Principal
When setting up the WVD, you will need to enter an account to do the setup. This account cannot have MFA enabled. I prefer using a Service Principal for this.
Requirements for the Service account
- RD Tenant Owner (or RD Tenant creator permission on Windows Virtual Desktop application if the RD tenant is created using this account)
- No MFA
Create the Service Principal
Create a Service Principal to your environment and export the password and application ID for later use. During deployment you will also need some information from your existing Azure environment.
- Open https://portal.azure.com and logon as a global admin
- Azure Portal > Azure Active Directory > Properties copy the Directory ID
- Azure Portal > Subscriptions, copy the Subscription ID
- Open Powershell ISE and copy the following script, Replace the variable values with the information from above
#Variables to change for your environment
$TenantGroupName = "Default Tenant Group" #Recommended to keep the default name
$TenantName = "ColigoTenant" #Select a god name for your RDS Tenant
$DirectoryID = "aaaaaaaa-bbbb-cccc-dddd-eeeeeeeeeeee" #Collected from Azure portal
$SubscriptionID = "aaaaaaaa-bbbb-cccc-dddd-eeeeeeeeeeee" #Collected from Azure portal
$ServicePrincipalName = “svc-wvd”

# install and load the Azure AZ module
Install-Module -Name Az -AllowClobber -Force
Import-Module Az

#Login to Azure AZ with the following command
$AADConnection = Connect-AzAccount -subscriptionID $SubscriptionID

#Create the Service Principal and save the password in a variable.
$sp = New-AzADServicePrincipal -DisplayName $ServicePrincipalName
$BSTR = [System.Runtime.InteropServices.Marshal]::SecureStringToBSTR($sp.Secret)
$spPassword = [System.Runtime.InteropServices.Marshal]::PtrToStringAuto($BSTR)
$spappId = $sp.AppId

#Export all info for later use:
Write-Host "AZ Subscription ID: $SubscriptionID"
Write-Host "AZ Tenant ID: $DirectoryID”
Write-Host "RD Tenant Group Name: $TenantGroupName"
Write-Host "RD Tenant Name: $TenantName"
Write-Host "SP Password: $spPassword "
Write-Host "SP AppID: $spnappid"
RDS Tenant
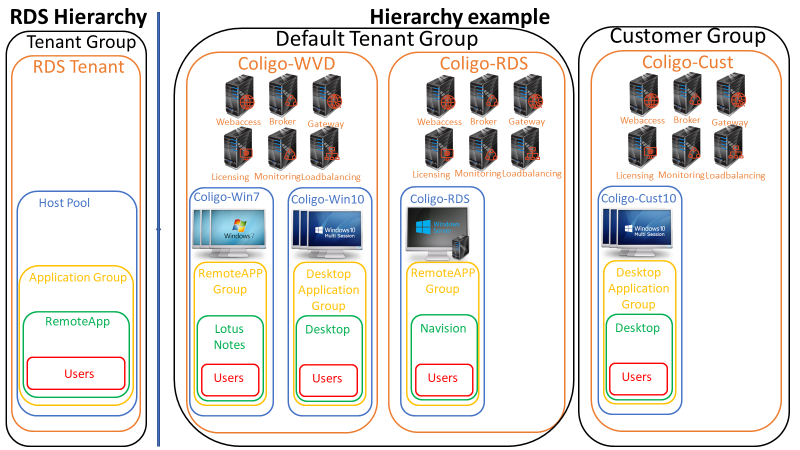
To be able to setup Windows Virtual Desktop Hosts, you will need to first create an Azure RDS Tenant. This is all the infrastructure services that support a Remote Desktop solution. This is the same thing used when Azure RemoteApp was a hot subject. You can setup multiple RDS Tenants in multiple Tenant groups. At time of writing completely free of charge!
- Give Consent
Give Consent to the Windows Virtual Desktop application to access your Azure AD
- Open https://rdweb.wvd.microsoft.com/
- Select to give consent for Server App and paste your Directory ID from above
- Login as global admin and accept the permissions
- Wait 30 seconds
- Open https://rdweb.wvd.microsoft.com/
- Select to give consent for Client App and paste your Directory ID from above
- Login as global admin and accept the permissions
2. Assign permission to create the Tenant
- Open https://portal.azure.com and logon as a global admin
- Select Azure Active Directory and navigate to Enterprise applications
- Search for and select Windows Virtual Desktop
- Select Users and Groups
- Select Add User
- Search for and add the user that you want to give permissions to create Tenants
3. Create the RDS Tenant and delegate permissions
Append your script in Powershell ISE and run the following commands:
#To install and load the RDS module
Install-Module -Name Microsoft.RDInfra.RDPowerShell
Import-Module -Name Microsoft.RDInfra.RDPowerShell

#Login to Azure RDS with the following command
Add-RdsAccount -DeploymentUrl "https://rdbroker.wvd.microsoft.com"

#Create your first RDS Tenant with this command (change to your ID´s from above)
New-RdsTenant -Name $TenantName -AadTenantId $DirectoryID -AzureSubscriptionId $SubscriptionID

#Delegate access to the RDS tenant for your Service Principal with the following command:
New-RdsRoleAssignment -RoleDefinitionName "RDS Owner" -ApplicationId $spnappid -TenantGroupName $TenantGroupName -TenantName $TenantName
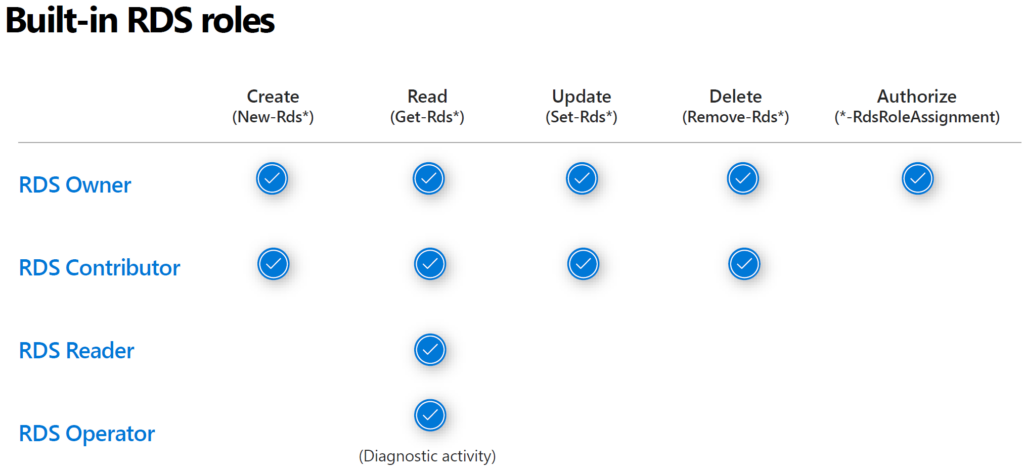
You can assign four different roles. RDS Owner, RDS contributor, RDS Reader and RDS Operator
To add another account as a RDS Owner you can run this command:
New-RdsRoleAssignment -RoleDefinitionName "RDS Owner" -SignInName torbjorn.granheden@coligo.se -TenantGroupName $TenantGroupName -TenantName $TenantNameThat’s it!
You now have an RDS Tenant in which you can create your first WVD host pool. But that will come in Part 3 of the blogs!