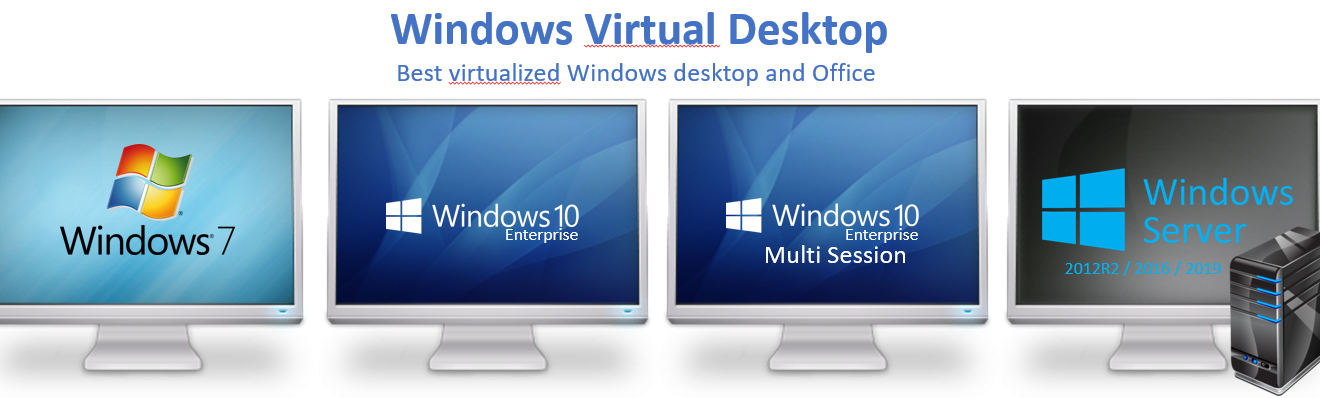
Windows Virtual Desktop Part 3 – The Session Hosts
Time flies! I´ve been busy working and had no time to continue the blogs. But here it is! This is Part 3 in a series of upcoming blogs on my experience from setting up Windows Virtual Desktop at in lab but also in production on some customers of Coligo. Part 3 will focus on the session hosts setup. What you need to setup the hosts and some tips and tricks.
What do you need to setup Windows Virtual Desktop?
- Global Admin (preferred but most can be done by delegate admin)
- Licenses
- Azure Subscription
- Local Active Directory or
Azure Domain Services
(currently not working with only Azure Active Directory) - Azure VPN to LAN (optional use If LAN access is needed)
- Service Principal (optional, you can also use your global admin account)
- RDS Tenant
How to setup these prerequisites are listed in Part 2 of the blog series.
How to setup a Session Host Pool
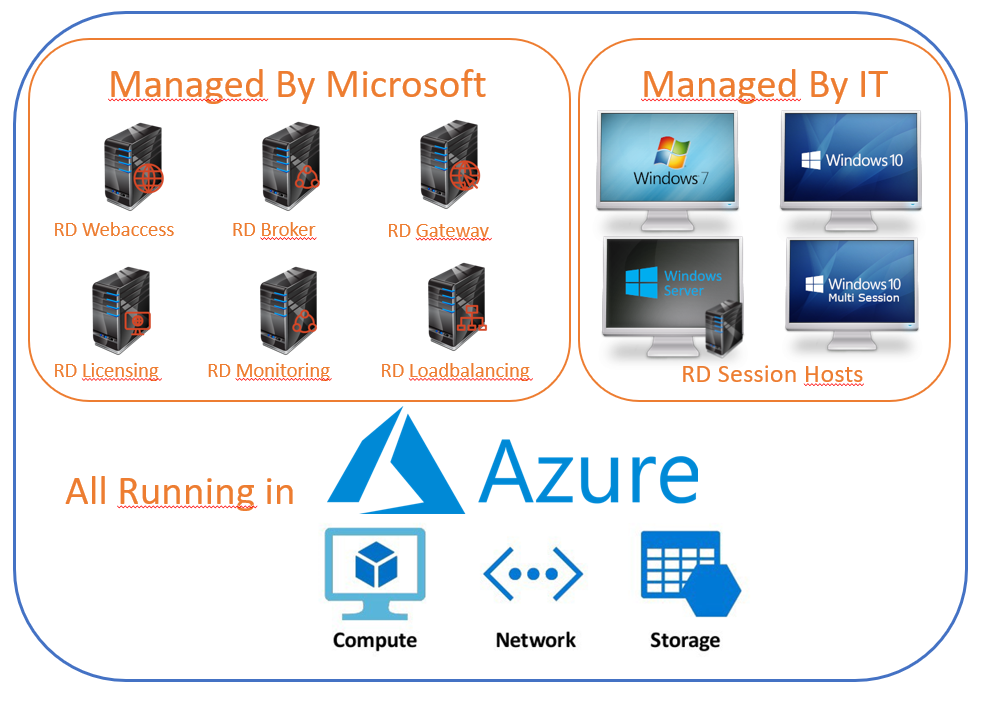
The Session hosts is the most important part in a WVD. And as I stated before, this is the only part you are responsible for. The session hosts can be picked from the Azure Marketplace or uploaded as images. Right now I prefer the Marketplace image. Mostly because Microsoft has built a multisession Windows 10 with Office 365 Pro Plus that is quick and easy to deploy. This image hopefully has their latest optimizations for WVD.
I will now go through the simple steps of setting up the Multisession Windows 10 from the Marketplace.
- Open https://portal.azure.com
- Select Create a resource.
- Enter Windows Virtual Desktop in the Marketplace search window.
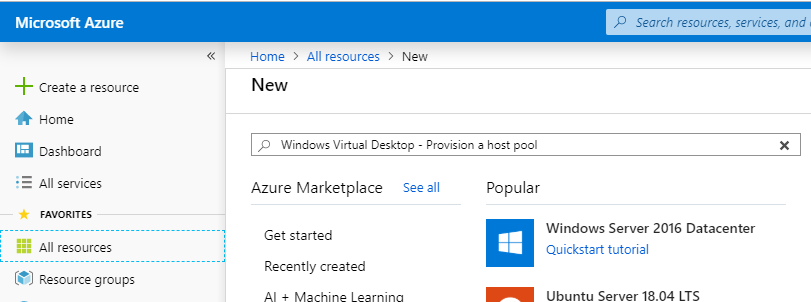
- Select Windows Virtual Desktop – Provision a host pool, and then select Create.
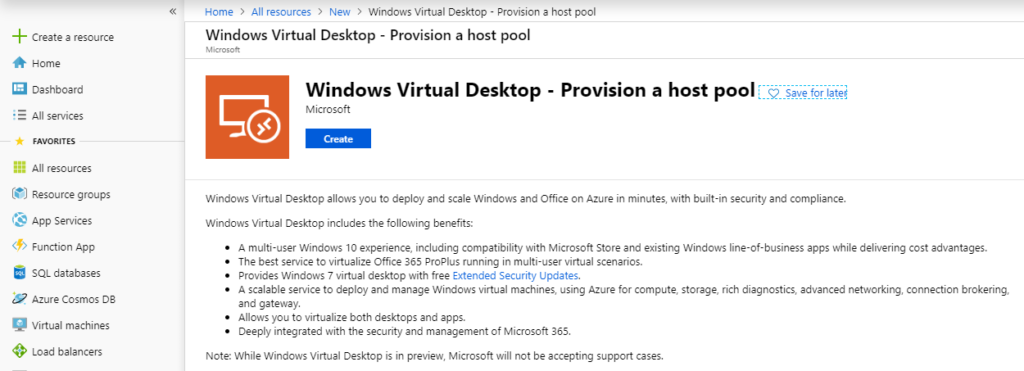
A Setup Wizard will appear, and a lot of info is requested
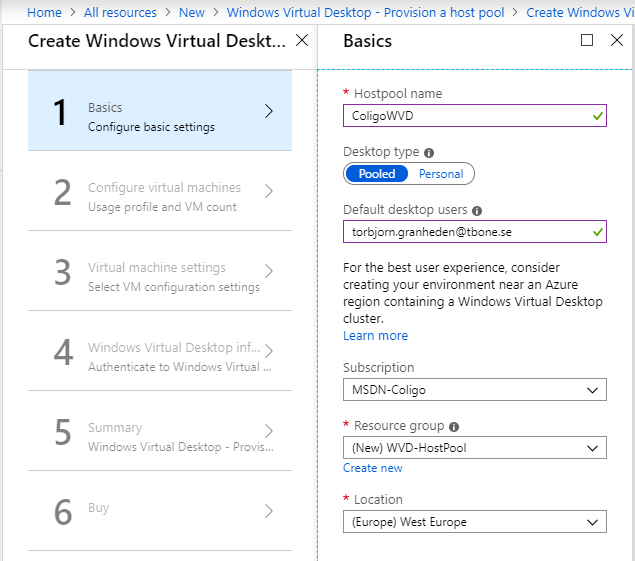
The Basics
This part is pretty basic
- Enter a Name for the Session Hosts Pool
- Select to use Personal or Pooled Desktops.
Personal assigns one WVD for each user
Pooled use multisessions on the same WVD´s - Enter Default Desktop Users, The users that will be able to connect and use the WVD
- Select a subscription that will be charged for the compute cost.
- Select an empty Resource Group (Or create a new empty one). It´s important that it is empty. Otherwise it will fail.
- Select the location where the WVD pool will be
installed and run.
(WVD Tenant is a global service and during preview it is only located in US. For best performance with connections etc, Microsoft recommends putting the VWD in US. I did not notice much differences so I use West Europe)
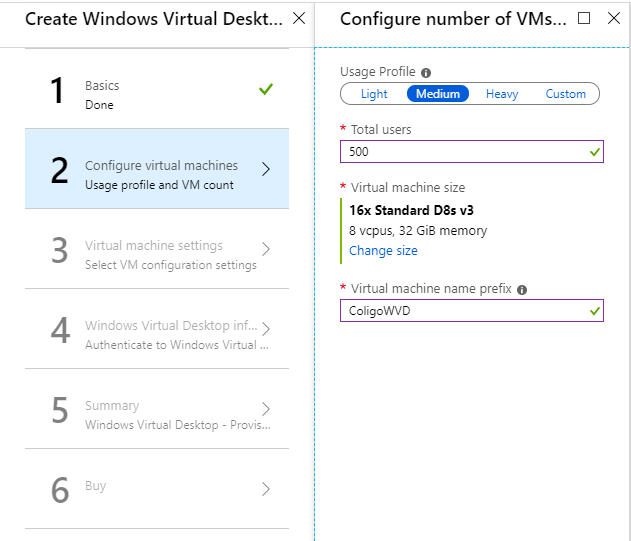
The Configuration
This part is nice, they have a simple size calculator that will help you do a quite good sizing with some simple clicks.
- Select a usage profile of light, medium, heavy or custom
- Enter number of total users
The size calculator will now present a suggestion on number of VM´s and the VM type. As you can see, it is the already existing types as you can choose from in Azure. - Optional, Change the suggestion to a custom configuration
- Enter a prefix for the computer names of the WVD`s
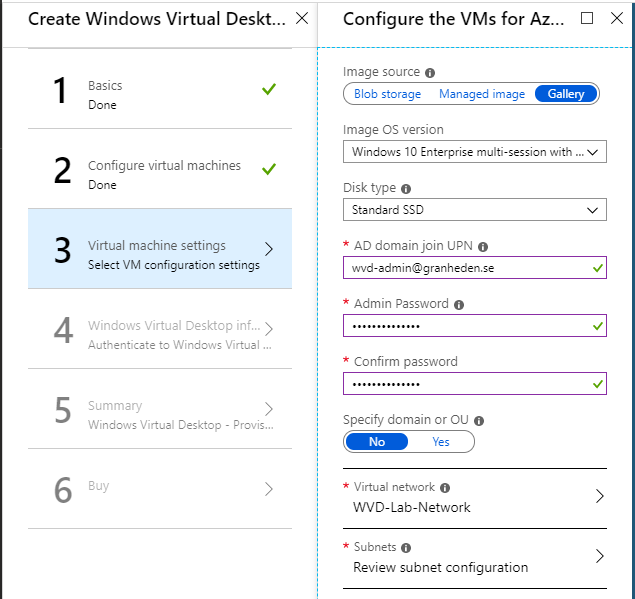
The Settings
Now it´s beginning to be more complex! You need to select an image and an account to use for the Local AD join. And finally an Azure network/subnet from where you can reach your domain controller.
- Select an image source.
Either upload your image as a .vhd to an Azure Blob, use your own managed image
or select from Azure Marketplace.
(I selected the Windows 10 Enterprise multi-session with Office 365 Pro Plus from Azure Marketplace.) - Select disk type, SSD or HDD. I prefer SSD for performance on the WVD´s
- Enter the user principal
name and password for the domain account that will join the VMs to the Local Active
Directory domain.
(The same username and password will be created on the WVD´s as a local administrator accounts). - Select the virtual
network and the subnet that has connectivity to the Local Active Directory domain
controller or the Azure domain services.
(Important that network has connection and that the DNS is correctly configured to find the domain controllers)
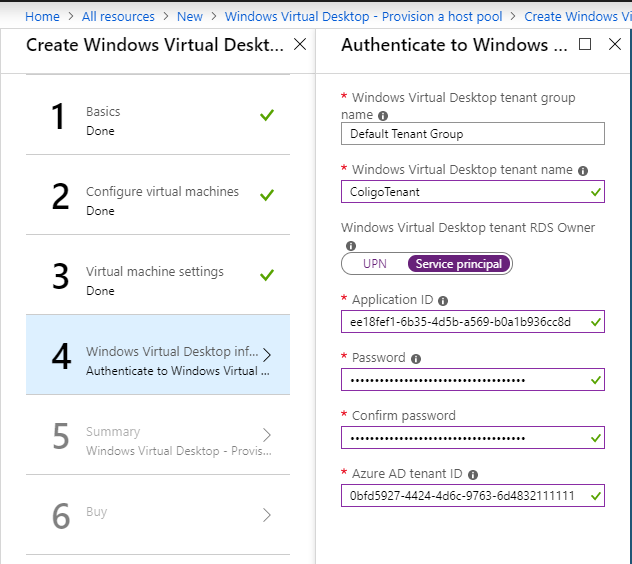
The Infrastructure
Now you need the information collected in the Part 2 Requirements and Infrastructure Setup
Without this info the setup will fail.
- Enter the RD Tenant Group name
(“Default Tenant Group” is the default name for this group but you might have another name) - Enter the RD Tenant name
(This value is set by you when creating the RD Tenant) - Select to use a Service Principal or a UPN to logon and
create the connections between RD tenant and your WVD´s
(I had best success when using a Service Principal for this. Also created in Part 2) - Enter your Azure AD tenant ID
(Collected in Part 2 from the Azure Portal)
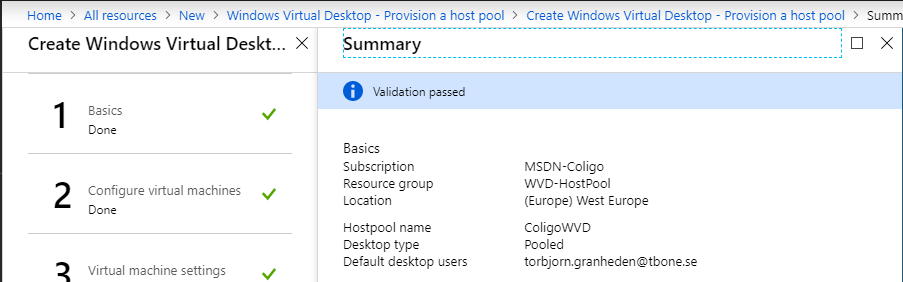
The Summary
That’s it! A lot of dialogs but not very hard if you got all the requirements and infrastructure setup in advance. If something of that is missing the build will fail.
Summary dialog will do a validation before allowing you to continue.
Most time this validation is a success also when the build fails. I´ve tested most possible combinations and settings in the previous dialogs. And had numerous fails but no validation error except when entering completely wrong info.
You can also download the Azure Template.

This will open up the Template tool where you can edit the template and also save in your library. With this template you can deploy new Session Host Pools quicker.

The Purchase
In the last page you agree to purchase and create (build) the Session Hosts.
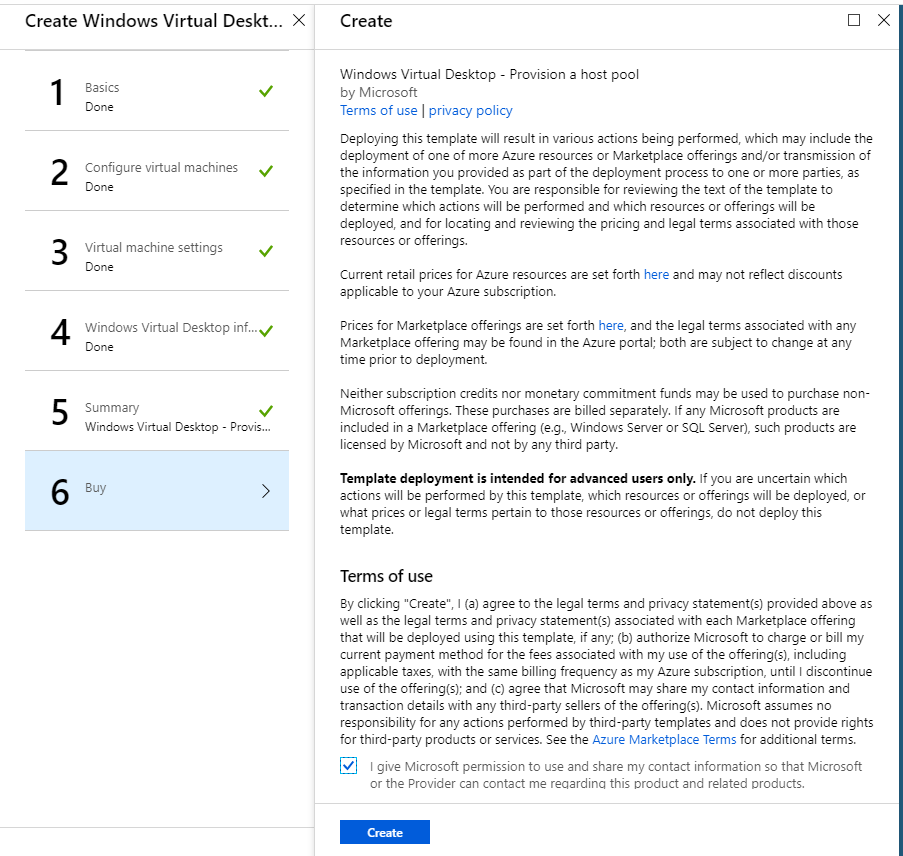
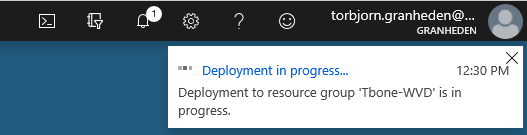
After selecting Create, an Azure build activity is created and can be monitored. Observe the Bell icon in the upper right corner.
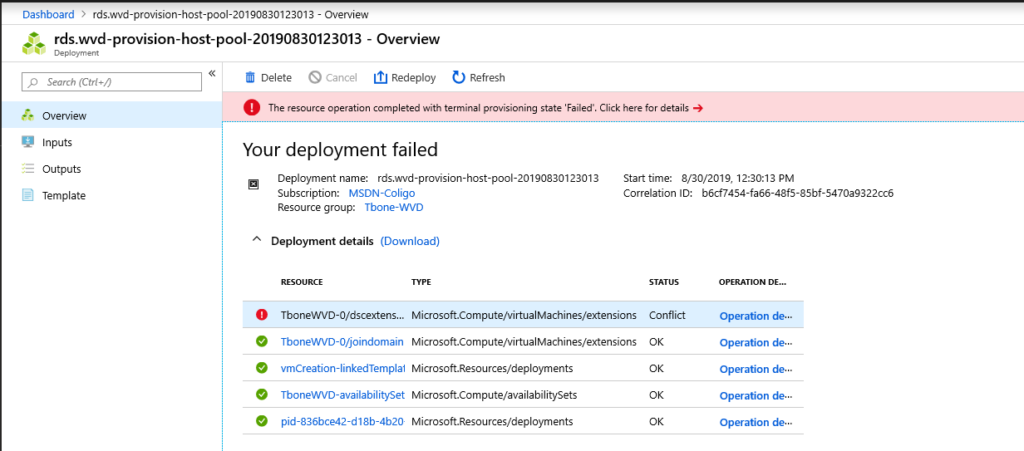
If you select the deployment, you can monitor and see what goes right and what goes wrong.
After all the deployment steps are successful you can start connecting to your Virtual desktop.
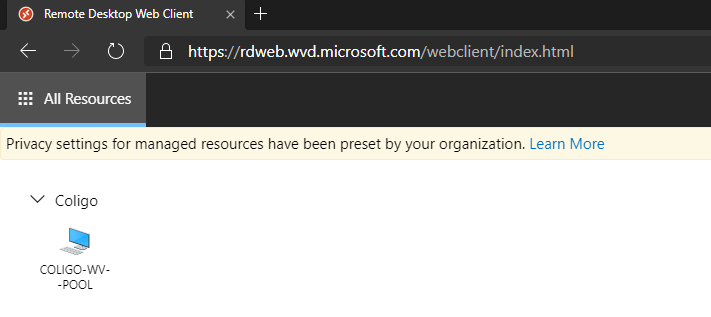
Connect with HTML5 Browser
- Open your webbrowser and go to: https://rdweb.wvd.microsoft.com/webclient
- Logon using the assigned end user credentials.
You should now see a Published Windows Virtual Desktop
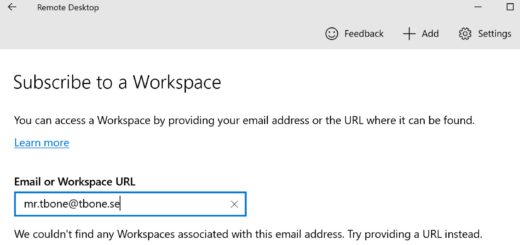
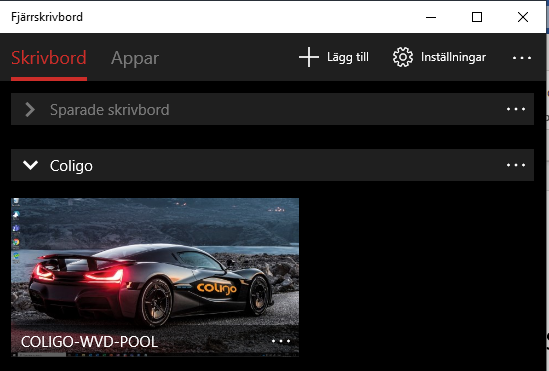
Remote Desktop App
- Open the Remote Desktop App (The one from Microsoft Store, not the old mstsc.exe)
- Select Subscribe on the main page to connect to the service and retrieve your resources.
- Sign in with your user account when prompted.
After successfully authenticating, you should now see a list of resources available to you.
If this fails you can try to subscribe to the URL: https://rdweb.wvd.microsoft.com/RDWeb/Feed/webfeed.aspx
That’s all for this part! Stay tuned for the next part where I will get in deep with the customization and optimization of the WVD.